SCHEDULE SERVICES
X
How to Replace Your Air Filter: A Step-by-Step Guide
SCHEDULE SERVICE
How to Replace Your Air Filter: A Step-by-Step Guide
August 23, 2019

You probably know how important it is to change your unit’s filter – but if you don’t, then let’s fix that! Any HVAC technician will confirm that changing your filter regularly is key to maintaining the efficiency of your unit, and the quality of your home’s air.
But, how do you actually change your filter? Most guides skip steps and assume you have the knowledge of a professional. That’s not the case for all homeowners. Let’s take it from the top: here is a step-by-step guide to changing your unit’s air filter from the experts at Acree Plumbing, Air & Electric!
-
Turn the HVAC Unit Off
The first step to changing your unit’s filter is turning the system off. There are two places you must go to fully shut off the system.
- First, turn your unit off at the thermostat. Each thermostat is a bit different, so follow the options displayed to turn off all heating and air conditioning.
- Then, go outside and find the circuit box near the big unit outside. The box is usually located close to the unit. Find the power for the external unit and switch it off.
-
Find the Filter
The next challenge is finding the filter. There are a few ways to do this, depending on the unit.
- All furnaces work the same way: air is brought in from the outside, is pushed through a filter, then distributed to the home. Look at your unit and identify the ducts that connect to the outside and the ducts that connect to the inside. The filter should be in the unit, between the intake and outtake ducts.
- If you have a large vent on the wall, the filter is likely located behind the grille (front plate) of the vent.
- If your HVAC system is in a closet, the filter is in the air handler cabinet: a small box with sheet metal walls.
- If your HVAC unit is in an attic or basement, you should find a small filter rack with a door between the furnace wall and return box, which is walled with sheet metal.
-
Remove the Filter
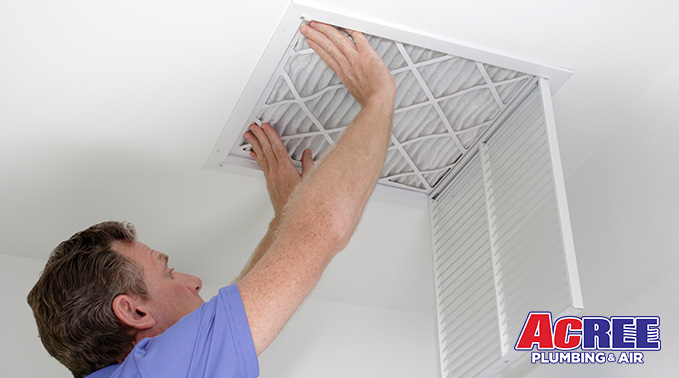
Once you have found the filter, you must remove it. Whether the filter is behind a cabinet or a grille, you will have to remove several screws to access it. Be sure to place these screws in a box or bag where you won’t lose them. Remove the filter from its location carefully.
-
Identify the Filter
While you have the filter in hand, take a moment to note the filter’s dimensions, brand, rating and model number so you purchase the correct filter.
-
Wash the Cabinet Cover
Before replacing the filter and re-fitting its cover, be sure to wash the grille or cabinet door. You can vacuum dust clods away or clean the covers with warm soapy water, and removing this excess dust will extend the life of your filters!
-
Wash or Replace the Filter
If your HVAC filter is washable, first remove the excess dirt from the material. Then, rinse the filter under warm water. Use a mild detergent and a soft brush to wash off the dirt and dust. Finally, shake the excess water off the frame. The filter will dry completely once reinstalled in the unit. If you do not have a washable filter, simply purchase the filter you need from a hardware store.
-
Reinstall the Filter
Replace the filter in the unit. Pay attention to the arrow found on the side of the filter — this shows what direction the filter should face so air flows properly through the material. Finally, secure the grille or cover with the original screws.
Need more tips on how to replace your air filter? Call us today!
Replacing your air filter is one of many ways to increase the efficiency of your HVAC unit and the air quality of your home. If you need to repair or replace your HVAC unit, let the heating and cooling experts at Acree Plumbing, Air & Electric handle the hard work for you!
Give us a call at 800-936-6736 today for the most reliable service in the Tampa area!
SCHEDULE SERVICE
Please fill out the form below so that we can better assist you.


